
Fellow Quilters,
Welcome to Day 15 of the Time to Quilt quilt-along. Can you believe we’ll have made 30 blocks by the time we’re done today?!?

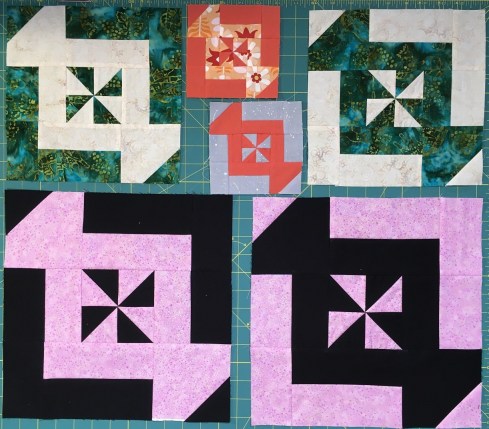
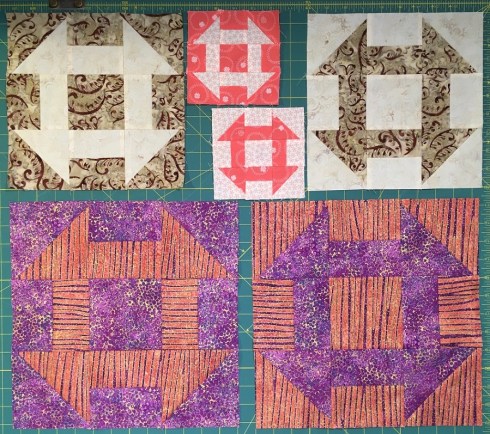
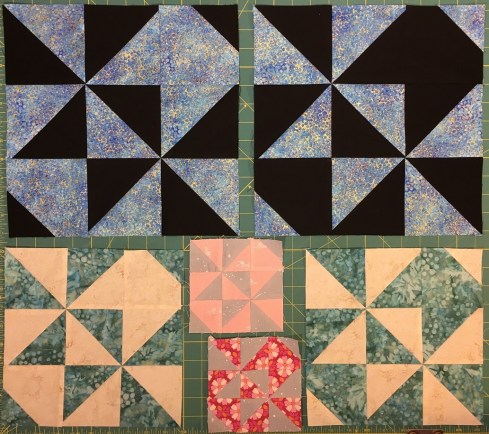
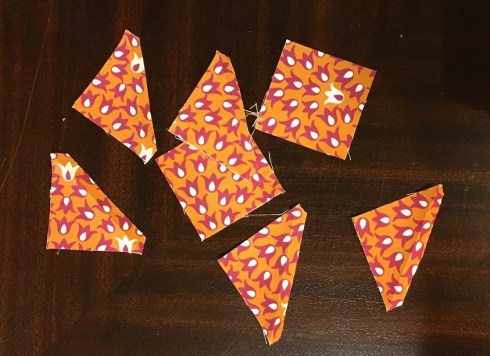
The stack of completed blocks is growing
And that’s 90 blocks for me, since I’m making 3 different size versions. I know – you’re thinking “There’s a name for you and it’s not complimentary”. I have learned a lot in these past 15 days. Have you? One thing I hope you’ve learned is that you don’t have to make a block as instructed. Let’s say you want to make these blocks following the original instructions on the Northcott or Banyan or FIGO Facebook pages instead of my modified version. That’s okay, you won’t hurt my feelings. I have developed thick skin – I have grown sons. If you can think of another or a better or preferred way to make a block, go for it! Spoiler alert – there are no quilt police. This is supposed to be fun and we’re supposed to be enjoying this. If we’re not, it might be time for another hobby. Speaking of fun… (haha – another segue!)
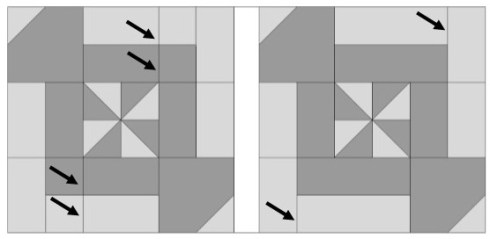
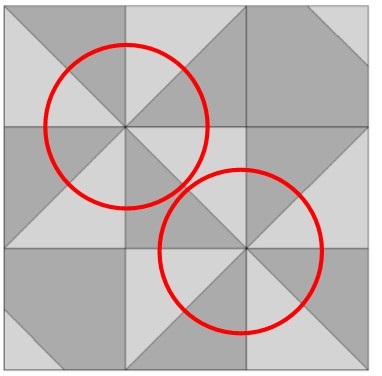
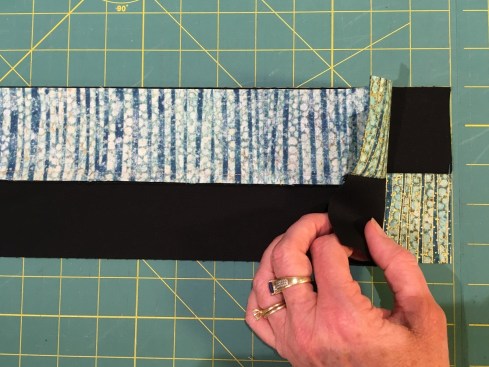
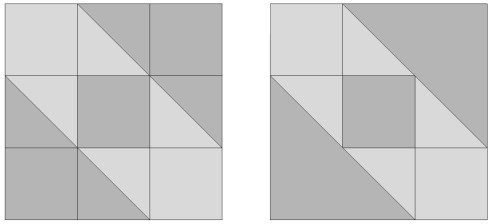
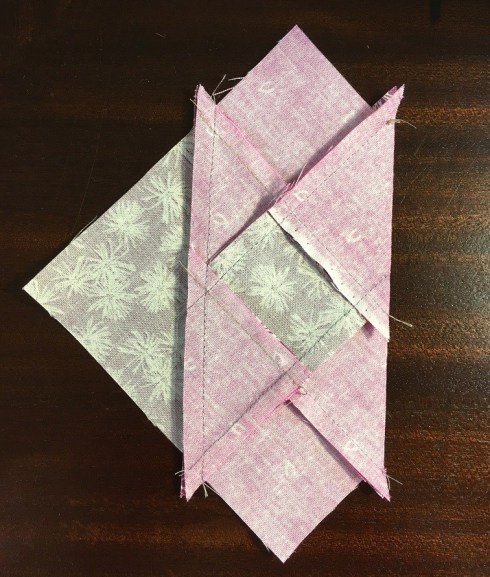
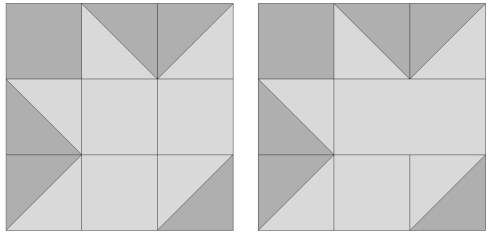
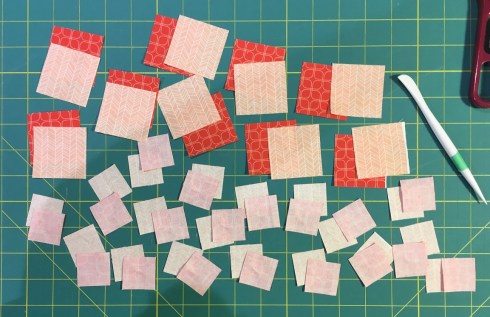
I had fun redesigning Block 15. As I’ve mentioned earlier, all 24 blocks are based on a 9-patch or 3×3 grid. Well, I looked at Block 15 and saw something else. I saw a framed square, framed again. I saw sewing strips onto that center square.

I saw a framed square instead of a 9-patch and eliminated 12 seams
By making the block with a series of strip frames I eliminated lots of seams – 12 to be specific! I did a quick calculation (full disclosure – I love math 😊) and determined that I saved 12 square inches of fabric by piecing the block using strips. That’s a 3” x 4” piece of fabric per 9” block. And lots of cross-seams that I didn’t have to match. As a result this block was super-fast and easy.
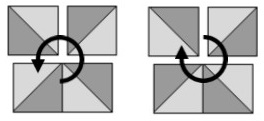
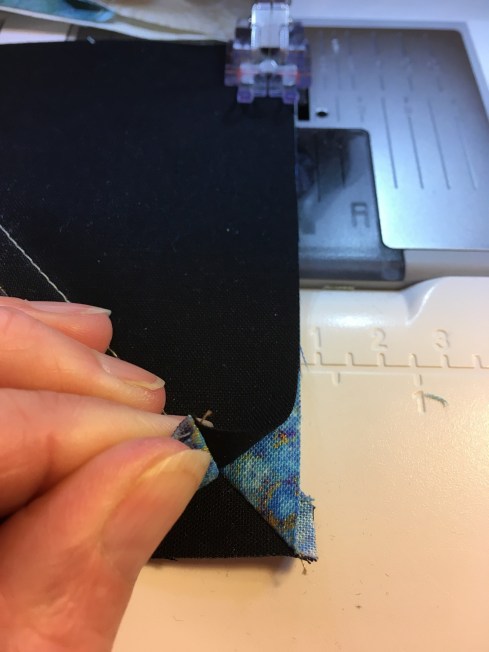
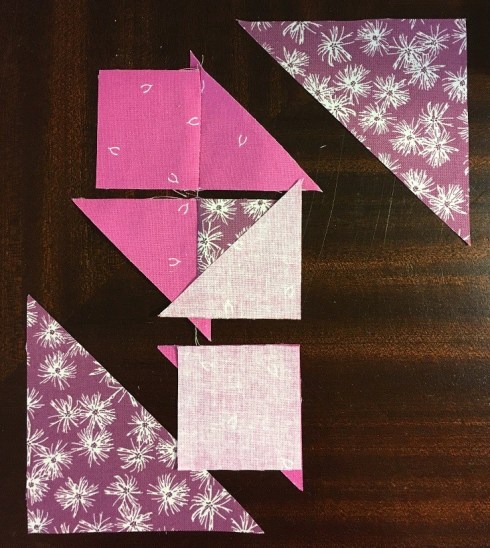
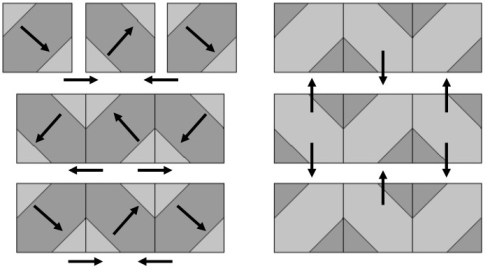
Today’s tip: When I am sewing a strip to a pieced section I sew with the strip on the bottom and the pieced section on top.

I sew with the seamed piece on top
Why?!? So that I can see my seams and I can make sure they go in the direction in which they are finger-pressed.
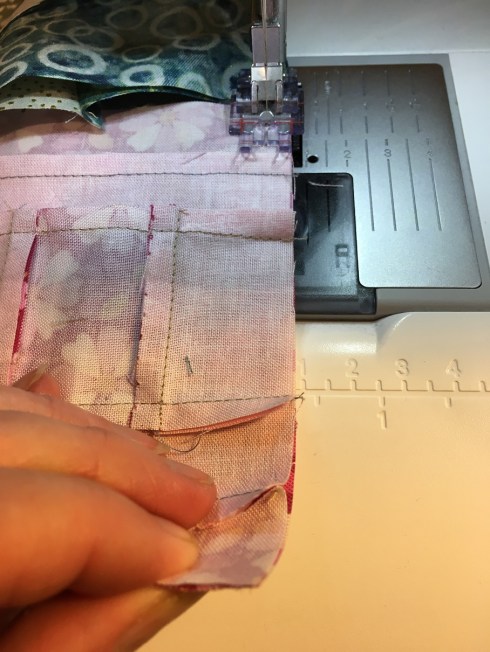
I can control which direction those seams go
This reduces the number of seams that get errantly stitched down in the wrong direction and makes for a smoother flatter quilt.
Quick as a flash these blocks are done!

Block 15 added to the Done pile
You can find my instructions for Block 15 here.
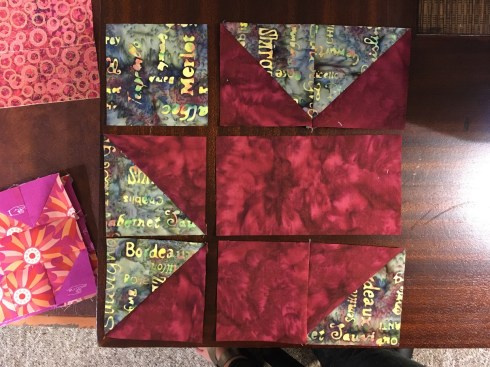
Northcott has used Cosmo for today’s block – the graphic details in this collection are ideal for this block. Banyan is showing the juicy tempranillo colorway of my Vino collection, including my favorite fabric from the entire collection – the wine names 😊. I LOVE that fabric! It’s perfect for wine gift bags and roll-up totes for wine lovers, like in my Tote Bag Trio pattern.
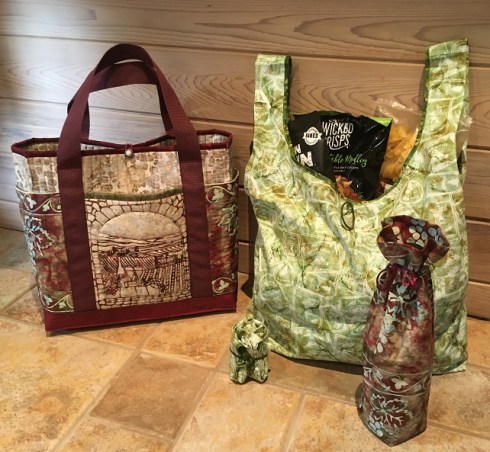
My Tote Bag Trio pattern make these 3 bags
I even used it for a jewelry roll because I love the color.

My jewelry roll made with Vino fabric – wine not!
As for a wine-themed jewelry roll, wine-not? (why not) – it makes me smile when I use it.

Inside view
Please also pop on over to Daphne’s blog to see her version of Block 15 and what she’s done with it.
Have a great day!
Patti


 I had some sour cream languishing in the fridge, so what better way to use it than a coffee cake, sprinkled with languishing raspberries? Quite a few of my Facebook friends are trying their hand at baking during this Stay-at-home period. It’s fun to see their pics of freshly baked bread. It’s a good thing the aroma isn’t attached to the pictures!