
Fellow Quilters,
Apparently I have slipped back into my pre-Time-to-Quilt-quilt-along blogging schedule. It’s been 3 weeks since my last post – where does the time go?!? Spring garden clean-up has taken some of that time. After weeding the beds, I divided some daylilies and planted 2 flats of annuals that Hubby bought. I must admit that I am not a very good or enthusiastic gardener. Except for a few obvious species, I can’t tell the weeds from the perennial flowers. My friend says a weed is just a flower that you don’t like. I feel that way about the mini begonias that Hubby bought. I have never liked begonias. I think I shall do the flower buying next year – just saying. I have left quite a few green sprouts in several of the beds, waiting to see if they are more recognizable in another week or two. I almost pulled out all the Evening Primrose thinking it was a weed. Hubby bought the last rhubarb plant in town – a scrawny pathetic thing – that will probably need 3 years to establish itself before I can harvest any. The rhubarb plant at our old house was finally at a stage where it was producing a nice sized crop. I really wanted to dig it up and bring it with us when we moved last year but thought the hole in the ground surrounded by bricks might be rather obvious. I would also like to plant 2 pear trees though Hubby says he needs to do some re-leveling of our backyard before that can happen.
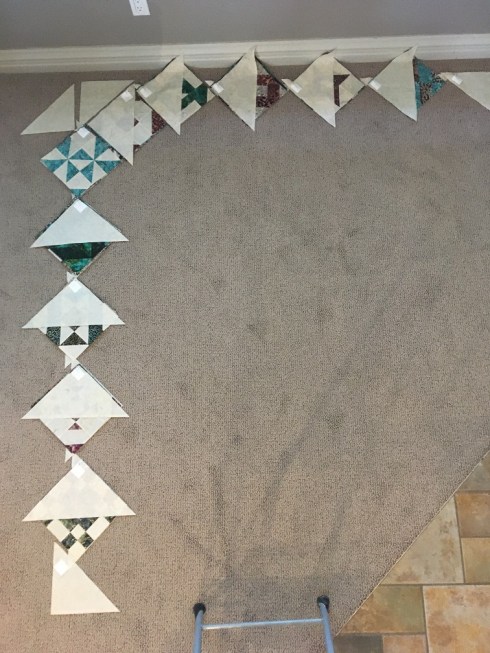
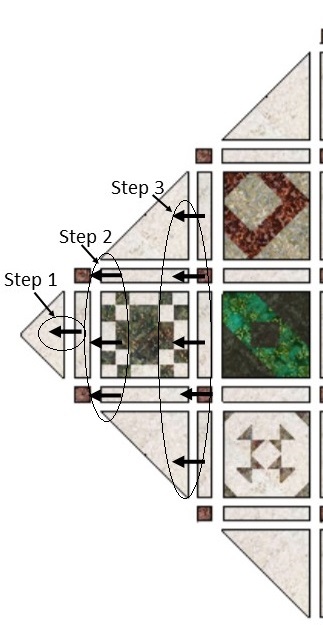
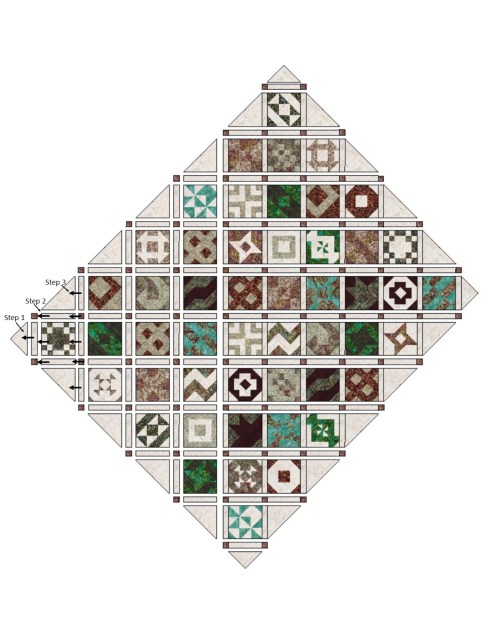
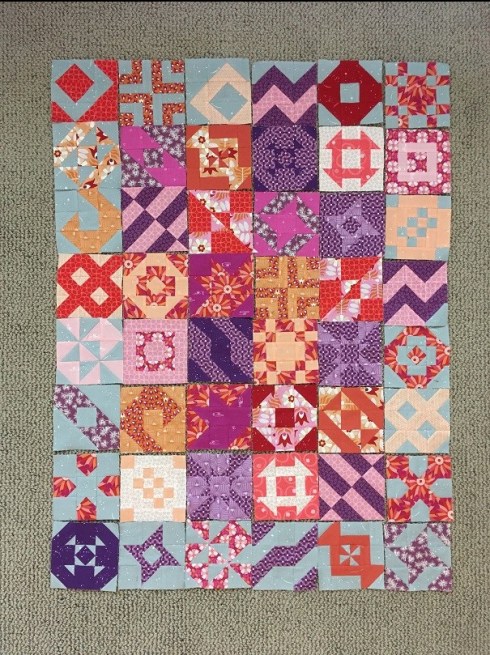
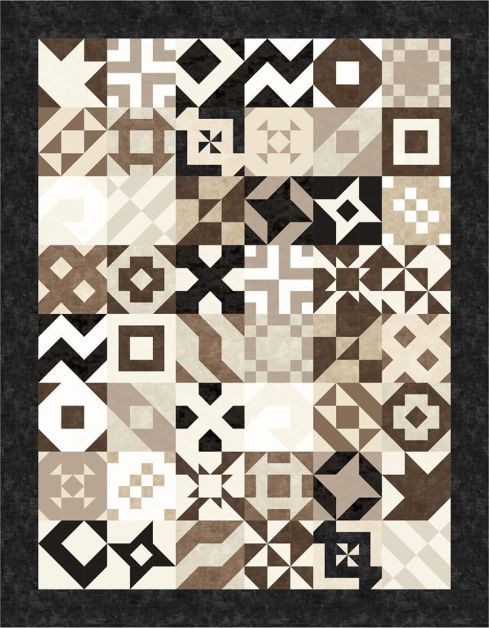
So, speaking of the quilt-along, I managed to get 2 of my sets of blocks sewn into quilt tops AND quilted. The FIGO Midsommar mini one was easy – small, with straight-line quilting.

Midsommar-time quilt done!
I used a variegated thread with orange, pink and purple – it was perfect. I loaded it on my longarm machine and used the channel lock function to stitch perfectly even straight lines in no time flat. I used my extra test blocks on the back for a splash of color.

The back of Midsommar-time
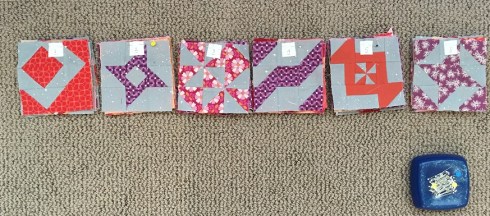
Then it was on to the Vino version. I added the outer borders and loaded it on my machine. I decided to use some plastic Baptist Fan templates for the quilting – I haven’t used them in forever.
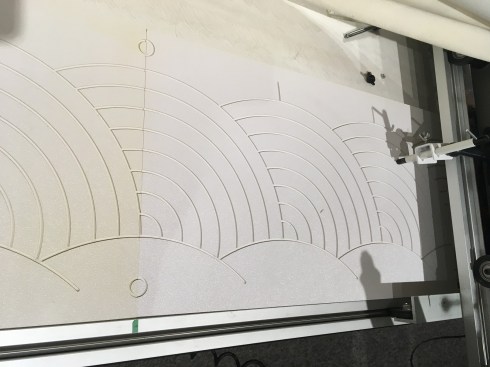
Plastic Baptist Fan templates
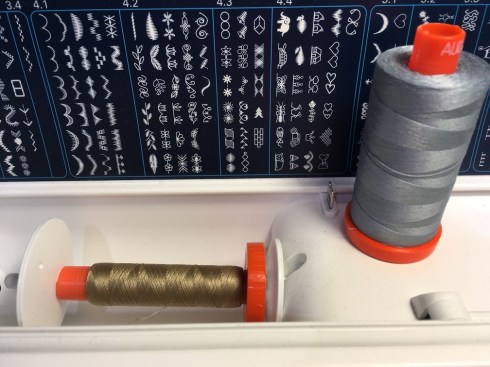
I pulled out what seemed like half my thread stash and finally decided on a variegated thread.

The variegated thread matches nicely with the prints.
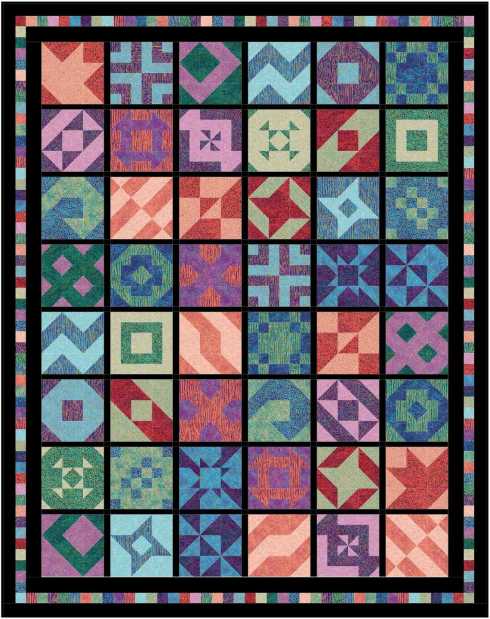
I threw the quilt on my son’s bed (when he comes for an overnight stay) just to take a photo and I’ve decided that it belongs there.

My Vino Time-to-Quilt found a home.
So that leaves the stack of super-sized Shimmer blocks. I’m not motivated so I’m asking for your help. Inspire me! Show me your finished Time to Quilt quilts or quilt tops. You can either email me a picture of your quilt/quilt top at patti.pattispatchwork@gmail.com or post a picture on my Pattispatchwork Facebook page. If you do this by June 12th (my son’s birthday), your name will go into a draw for a bundle of fabric.
Speaking of Facebook, I am participating in a fun 3-day event June 2-4.  The Designers Tips & Techniques Virtual Show takes place from noon until 8pm each day. Each participating quilt designer has selected a time slot and will do a 15-minute Facebook Live post at the top of their hour, demonstrating their tip or technique. The schedule is here. My time slot is June 3 at 3pm, and I am madly researching how to do a Facebook Live post. Between you and I, I am very nervous! What if my post doesn’t go live as planned? What if I forget what I’m going to say, or leave out vital details? What if my internet goes down part-way through my talk? Hubby has jury-rigged a device to hold my phone – lots of duct tape was involved. I still have several dry runs to do before June 3.
I am also participating in a Designers Shop Hop July 13-18. Just like with a traditional shop hop, each designer will have a free unique block pattern in their online shop for the duration of the hop. Quilters travel online to each shop to collect the block patterns and see what each designer has done with the blocks to make a quilt. Stay tuned for further details – I’ll be posting more information on my Pattispatchwork.com website, on Facebook and in a future blog post.
Time for me to do another dry run of my Facebook Live demo…
Cheers,
Patti