
Fellow Quilters,
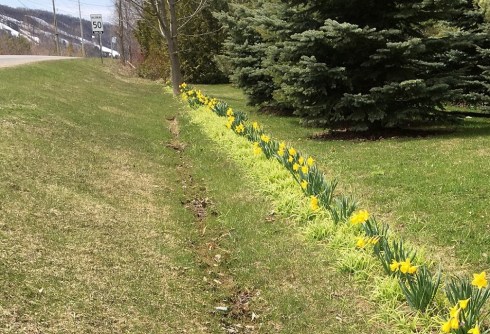
It’s another rainy day here, perfect for quilting 😊. Hopefully these April showers will bring May flowers. The days are getting warmer so it won’t be long before the robin nesting outside our kitchen window has a nest full of babies. Did you know that robins can have 2-3 clutches in a year? Hubby has been working on cleaning up the yard while I work on quilt blocks. Next week is forecasted to be sunny so I will likely get out to putter as well, though truth be told I’d rather putter in my sewing room. It is nice, though, to get outside, even just for a walk around the block.
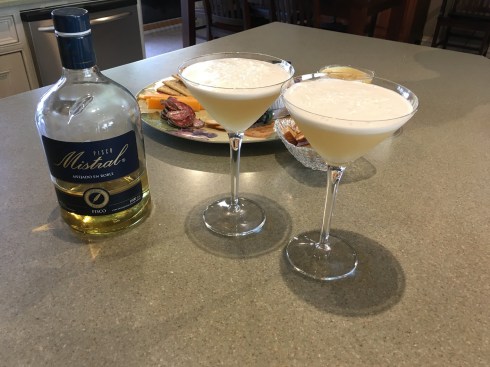
Yesterday Hubby and I selected Belgium as our port of call on our stay-at-Home-and-Cruise, and he chose to make a cocktail that originated in Brussels – the Black Russian. Who knew?!?

White Russians – our modified Belgian cocktail of the day on our Stay-at-Home-and-Cruise
He decided to cut the sweetness by turning it into a White Russian by adding cream – yum! He tells me he has another Belgian-based cocktail planned for today. I’ll keep you posted.
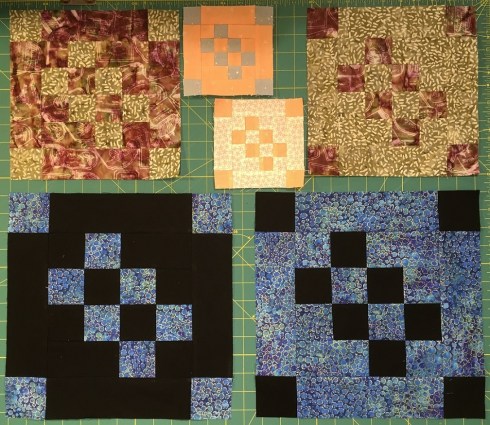
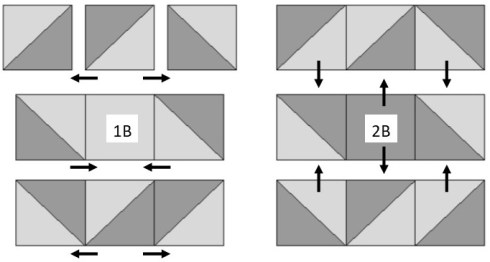
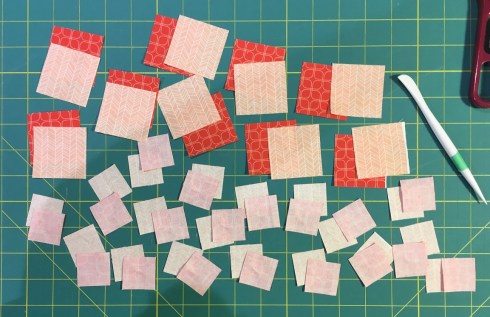
Block 23 in the Time to Quilt quilt-along is straight-forward. I made no changes to the pattern on Northcott’s, Banyan’s and FIGO’s Facebook page, however I did add pressing directions – I wonder if mine vary from Daphne’s. She likes to press some of her seams open to disperse the bulk of many layers of fabric. You can pop over to her blog here to find out. While piecing this block I did find a tip that I would like to share with you.
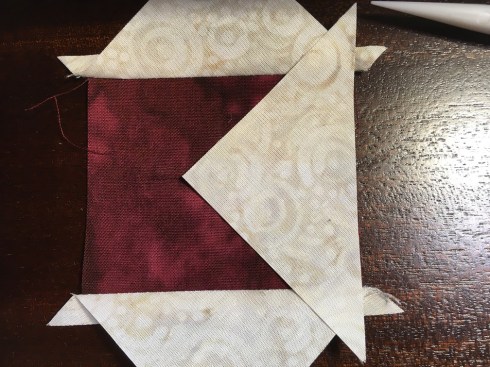
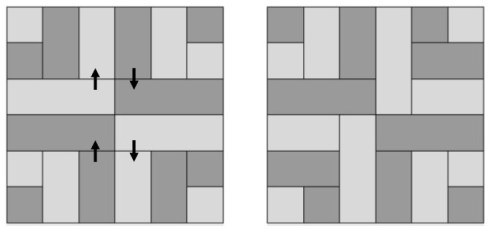
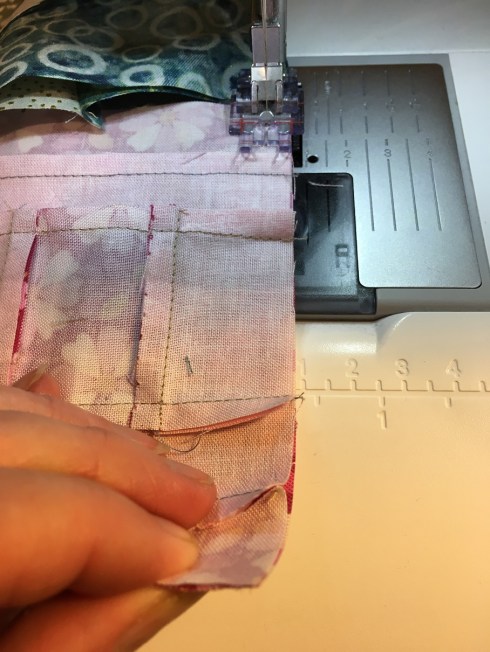
Today’s tip: When making the units with the two sew-and-flip squares on the end, you will find it easier to add them in a specific order.
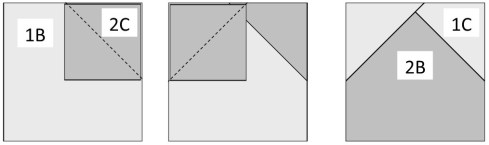
Making the side units on Block 23
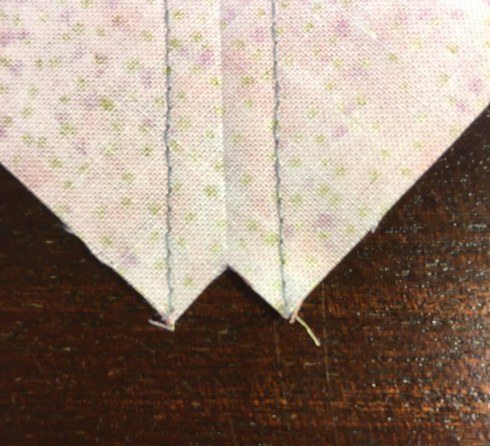
Let me show you. Add the first sew-and-flip square, pressing the triangle toward the corner and trimming the excess ¼” beyond the seam line – easy-peasy. Now, it is easier to add the 2nd square so that the tail end of the square is overlapping the first square, not so that the leading end is overlapping the first square.
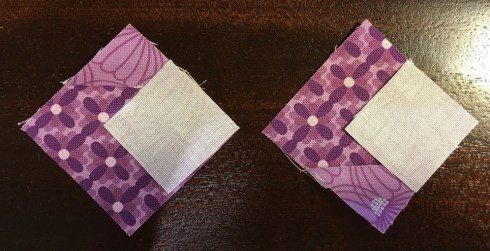
The unit on the left is harder to sew than the unit on the right
Why?!? Because we want the seam for the first square to be toward us so that it doesn’t get caught under the feed dogs.

We want the seam running toward us
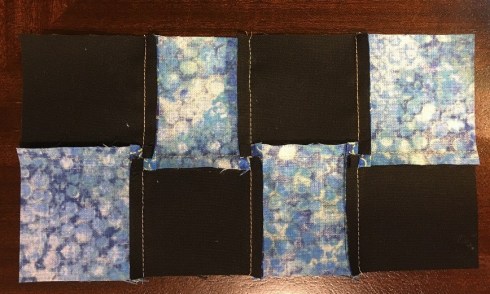
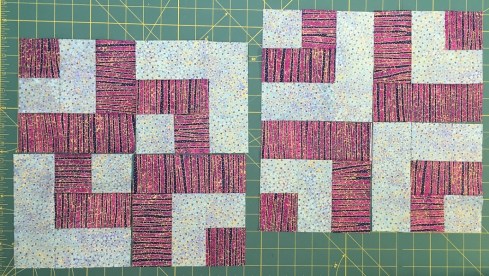
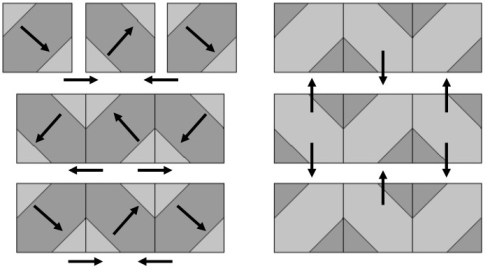
Once these units and the ever-present HST units are done, the blocks go together quickly.
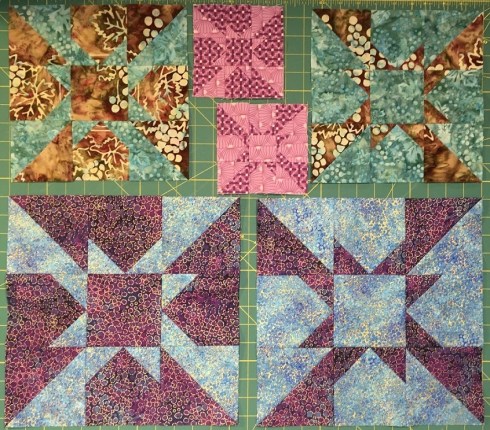
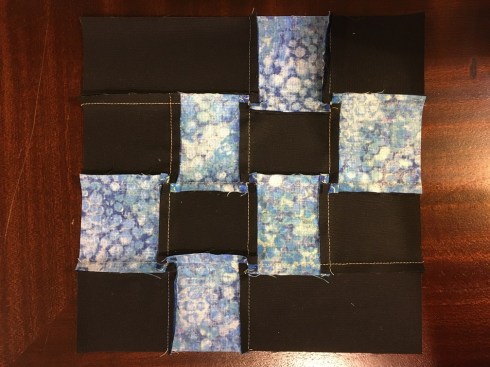
Block 23 done – we’re almost finished!!
You can find my instructions for Block 23 here.
Today Northcott’s blocks are made with the lovely Tree of Wisdom (the textures in this collection are gorgeous!) and Banyan is using Creative Director Karen Gibbs’ favorite collection Ride On. If you have any cycling enthusiasts in your life this collection is just perfect for a quilt for them. Over at FIGO, Christina has used Away We Go for her post today – love it!
Just a reminder to head over the Northcott’s Facebook page tomorrow and post a photo of some of your blocks for a chance to win some cool swag. You can also post the on Instagram and include the #timetoquiltfigo for the FIGO prizes. Good luck!
Cheers,
Patti