

Fellow Quilters,
I should have heeded the warning signs.
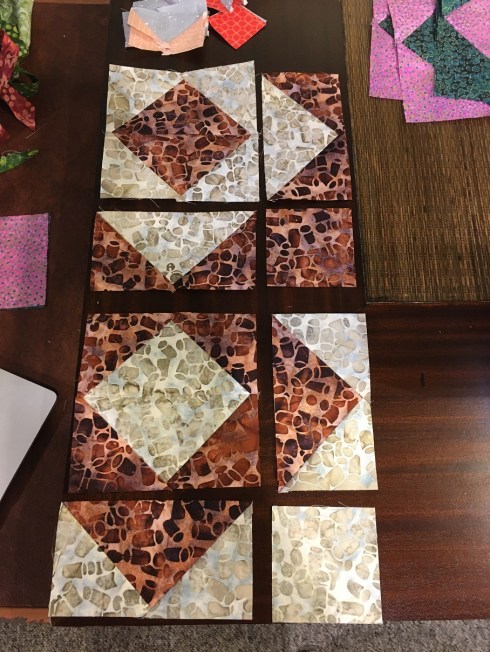
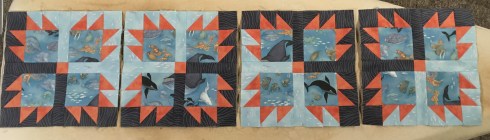
Things were going exceptionally well. The instructions for Time to Quilt Block 5 were written in record time, completed before dinner – this was a first! They were fairly straight-forward, following the original instructions from the Northcott, Banyan and FIGO Facebook/Instagram pages with the exception of the center unit – I used the same square-in-a-square method that we used in Block 3. I quickly washed the dinner dishes then headed to the sewing room. Block fabrics were selected and pressed – all good. I cut all the pieces according to the instructions, sorting them into 3 piles for the 3 sets of blocks. From each set I snapped up the squares used for the half-square triangle blocks, grabbed my pen and marked the diagonal cutting line. Whipped them through the machine, sewing ¼” each side of the line, then set them aside and prepped the center square-in-a-square units. Wait! Since I’m doing a modified Midsommar version and replacing some of the fabrics with the gray border fabric, one of my 2 Midsommar blocks needs some gray pieces.

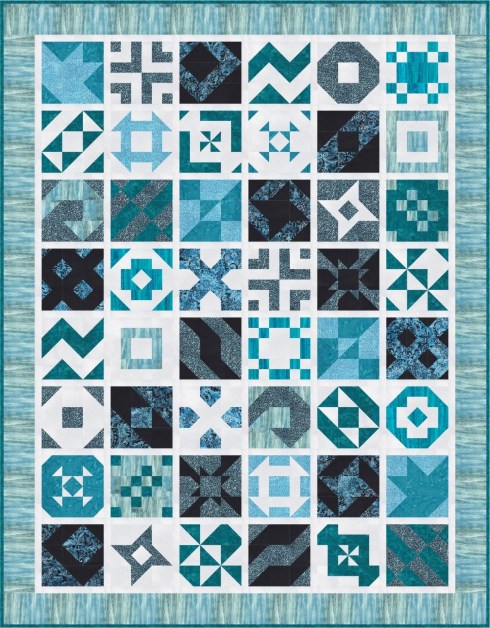
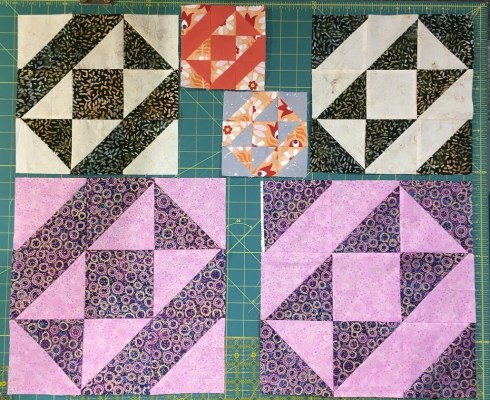
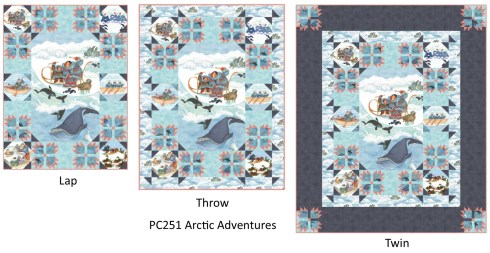
Midsommar quilt per the instructions and my modified version substituting some background fabric in the blocks
Back to the cutting table with the gray fabric to cut the center square and some gray half-square triangle squares. Wait! I also need more purple half-square triangle squares unless I want to unpick the ones I sewed in error. Quickly checking my quilt layout, I determined that I could use the already-sewn pieces for Block 23. I set them aside and cut some replacements. Done and back to the machine. All the components are now sewn, so it’s on to the block assembly. Something’s wrong! My center unit for the 9” Vino block is smaller than the B squares. How can that be? Because they are the A squares! I had mistakenly grabbed the B squares and sewed half-square triangle blocks from them! NO! Back to the machine to prep and sew the half-square triangle units with the A squares, and unpick the units made with the B squares (luckily I hadn’t cut them apart yet).
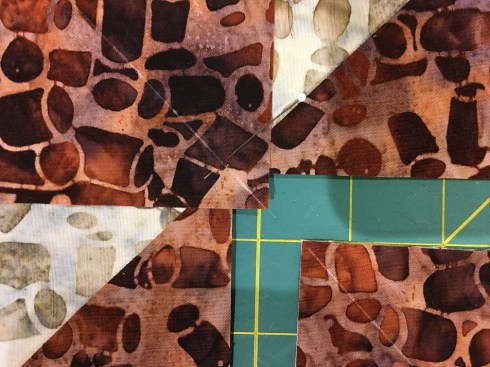
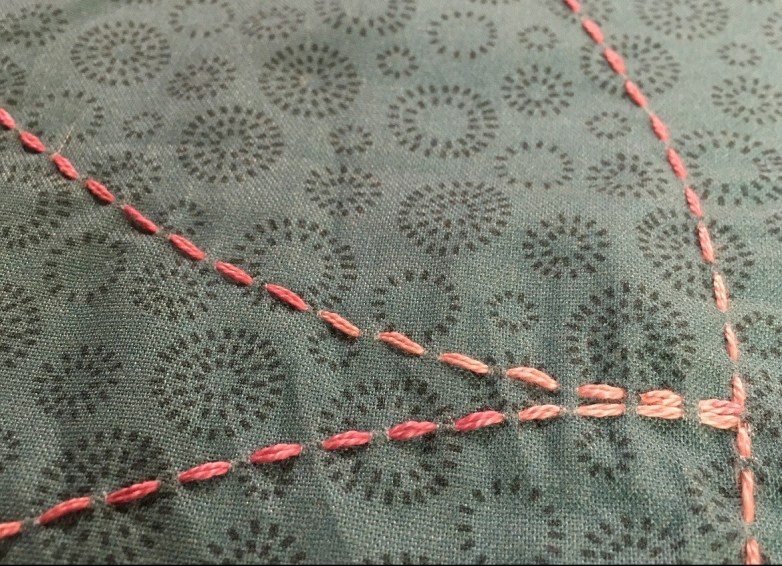
I mistakenly drew diagonal lines on my B squares – hopefully they won’t show through
Fingers crossed that the diagonal pen lines won’t show through from the wrong side when the quilt is quilted. Then my sewing glasses fell off my face – just jumped off! What?!? The arm snapped while I was wearing them.
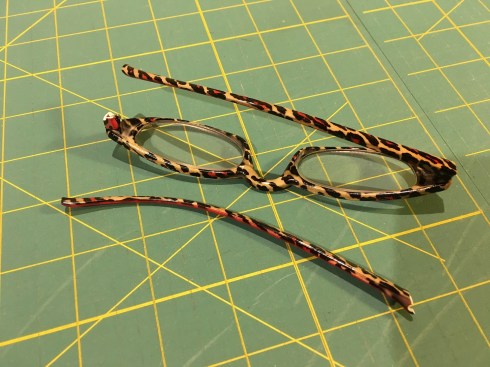
Broken sewing room glasses 😦
Irreparable – now in the garbage. I resorted to my not-as-comfortable and not-nearly-as-stylish regular readers and forged onward. I laid out the components for the Midsommar blocks. Wait! I forgot to cut the gray B squares too! Waaaaah! I pulled out the gray fabric yet again, cut the missing pieces and set the extra purple pieces in the growing pile of surplus cut pieces.

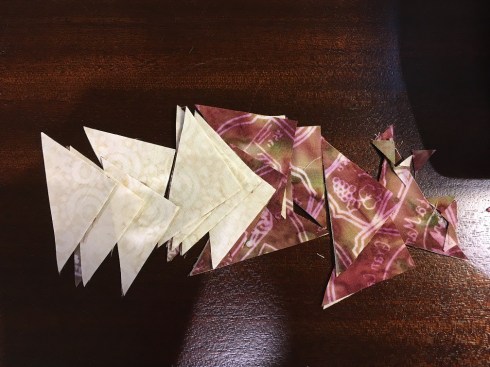
Mis-cut pieces set aside for a future block
I wondered what else could possibly go wrong. Fortunately nothing did and the blocks were quickly finished.

Block 5 done finally!
Moral of the story: Quit while you’re ahead, heed the warning signs, step away from the sewing room and do something else.
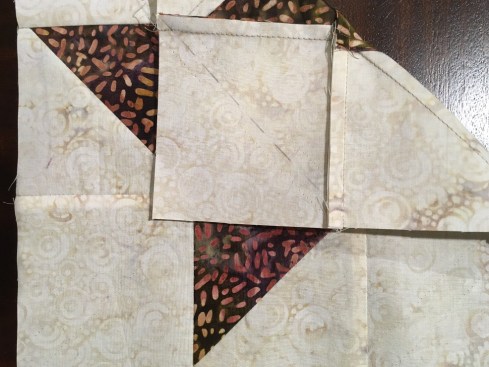
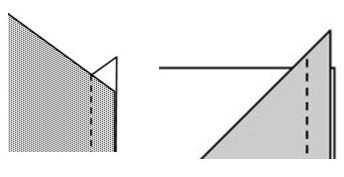
Today’s tip: I usually indicate the direction to press seams and for this block you may be wondering why I suggest you press the seams TOWARD the half-square triangle units.

Press toward the half-square triangle units and away from the square-in-a-square unit
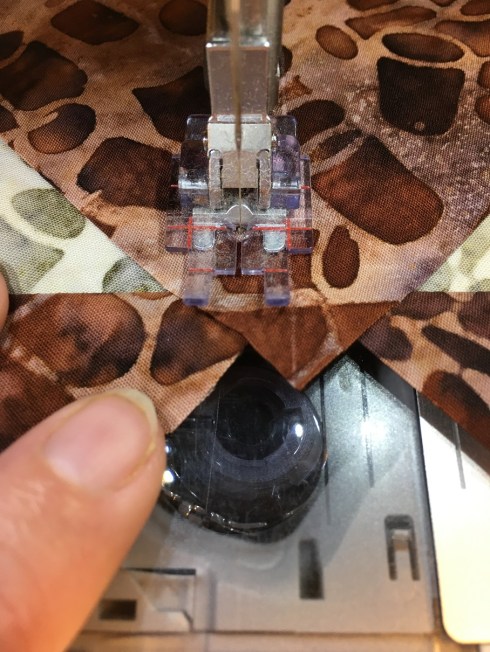
My reasoning is because I want to press the seams AWAY from the square-in-a-square unit in the center. I figure if I press TOWARD the square-in-a-square unit there is a bigger lump of seam allowance to manage when I am quilting. In the top and bottom rows we press the seams TOWARD the half-square triangle units so that when we sew the 3 rows together the seams will nest nicely. I know you want to press the seams toward the B squares in the corner but it will make it harder to match the seams. When I sewed the 3 rows together I sewed with the middle row on top so that I could see the sewing lines on the square-in-a-square block and I aimed my stitching line right through that intersection, actually 1 thread width to the right of it. The result is perfect points.

Sew through the intersection
The blocks on the Northcott and Banyan Facebook pages have been made with Forest Frolic (I love this collection!) and Kayana – check them out😊 And visit Daphne’s blog to see what she does today with her Block 5.
You can find my instructions for Block 5 here.
Time for some domestic chores – I’m heading to the kitchen to make turkey stuffing and cranberry sauce (with Gran Marnier – yum!). Have a peaceful and pieceful day, and we’ll see you back here tomorrow for Block 6.
Cheers,
Patti


 featured in the May/June issue of McCall’s Quilting, on newsstands March 27. Let me give you a bit of background on this mini tool with mighty benefits. On the way home from a Borders & Binding workshop I taught to the Sarnia guild last April I was pondering how I could make mitered borders easier to mark – the students really got the concept of pre-cutting the mitered angles prior to sewing them on the quilt. They struggled, however, with marking the spots to start and stop sewing them. I came up with the idea of a small angled template with precisely drilled holes, and that is how the E-Z Miter tool came to be. It includes detailed instructions on fool-proof mitered borders as well as instructions on using the tool for lone star/Lemoyne star blocks/quilts as well. Simply place the tool in the inner angled corner of your mitered border to mark the exact spot to start and stop sewing. Use the square corner to mark the quilt or block, then connect the two dots for perfect foolproof mitered corners. Easy peasy! I even have a how-to YouTube video
 The
The