

Fellow Quilters,![]()
Happy Saturday and welcome to Day 4 of the Time to Quilt quilt-along. Did you post photos of some of your blocks on Northcott’s Facebook page yesterday for a chance to win some swag? At least one of my followers is a winner – a shout-out to Dixie! I popped onto Northcott’s page today to see the winners and also see some of the blocks that quilters have posted. There are some lovely fabric combinations being used. The next chance for some swag is next Friday, so you’ll have another 7 sets of blocks to choose from to share on Northcott’s Facebook page or on Instagram with the #timetoquiltfigo.
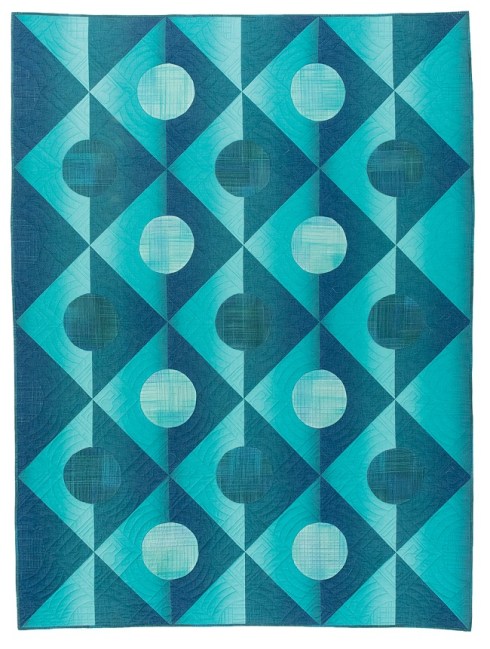
Have I got a cool hack for your today! As I mentioned on Day 1 all the blocks in the Time to Quilt quilt-along are based on a 9-patch grid and Block 4 is no exception. Here is the black & white line-drawing of the block.

Block 4 as a 9-patch with and without patch lines
When I looked at the block, I saw diagonal strips however. Can you see them? If I remove the patch lines it is more obvious. I was trying to figure out how to cut the diagonal strips with the funny angled end. I had it pretty much figured out and I was working on my diagrams for my instructions when I had a light bulb moment. You’re gonna love this!! For the 9-patch version, we cut 4 larger squares and 6 smaller squares of each fabric for the hourglass and half-square triangle units (total of 20 pieces).

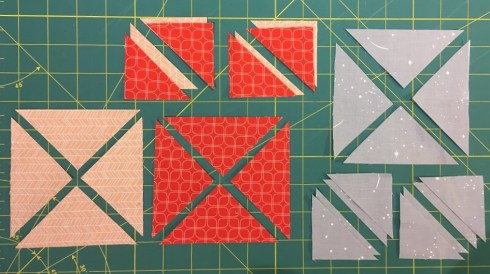
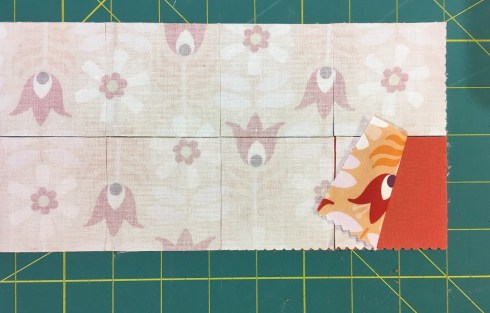
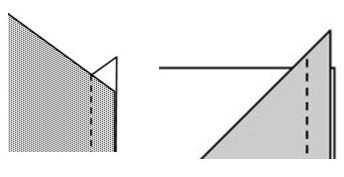
Make 2 dark-light-dark rail fence blocks and 2 light-dark-light rail fence blocks
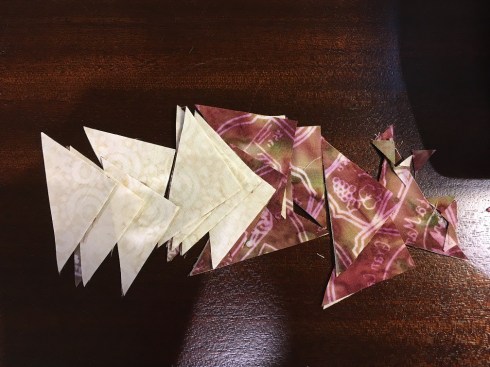
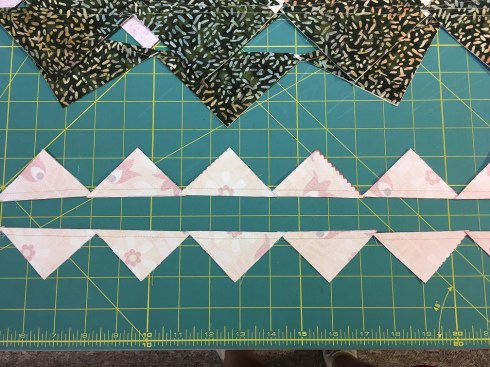
Instead, I cut 6 rectangles of each fabric (total 12 pieces) and made 4 rail fence blocks – 2 with light-dark-light and 2 with dark-light-dark. Then I cut them into half-square triangles as shown and assembled the block as an hourglass block.

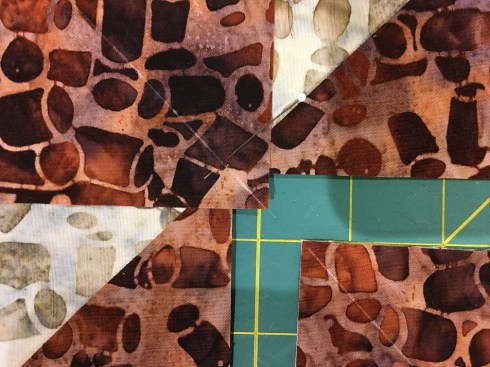
An hourglass block made with 4 half-square triangle units from my rail fence blocks
It was lightning-fast!
There are 2 caveats with this block: #1 – the edges of the block are bias. I will keep this in mind when I assemble the quilt and use the BOB (bias on bottom) or Baggy Bottom rule. Thanks to Bonnie L for sharing the BOB tip on my March 30 blog post.
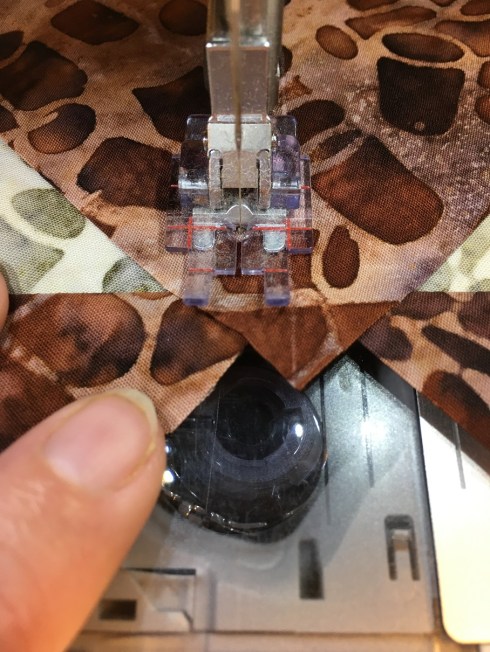
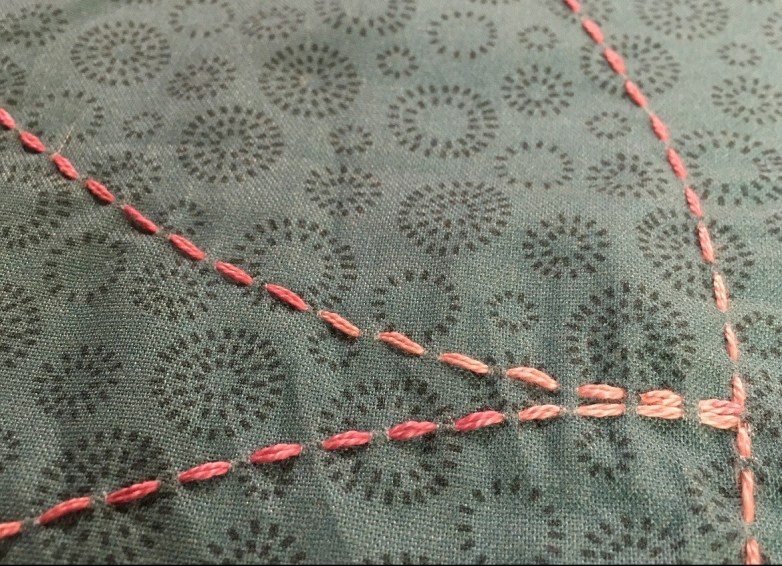
Today’s 1st tip: I press my block going with the grain of the fabric. In this case I am pressing it from corner to corner, not from bottom edge to top edge or side to side because that is the direction of the bias. I am much less likely to distort my block if I press in the direction of the grain. This holds true when I press half-square triangle blocks as well – I don’t press along that diagonal seam. Rather, I press from bottom to top.
Caveat #2 – the size of the pieces for the mini and super-size versions is not a nice round number but it’s a fairly easy work-around. I instruct you to cut width-of-fabric strips that are a scant 1⅝” for the mini or scant 3⅜” for the super-size. What does this mean? In this case (and I have included a note in the pattern below the cutting chart) scant is half-way between the 1⅝” line (for the mini version) and the next smaller marking on most rulers, which would be 1½”. For the super-size it is half-way between 3⅜” and 3¼”. If your ruler has 1/16” markings you’re good to go. Otherwise here is what that looks like.
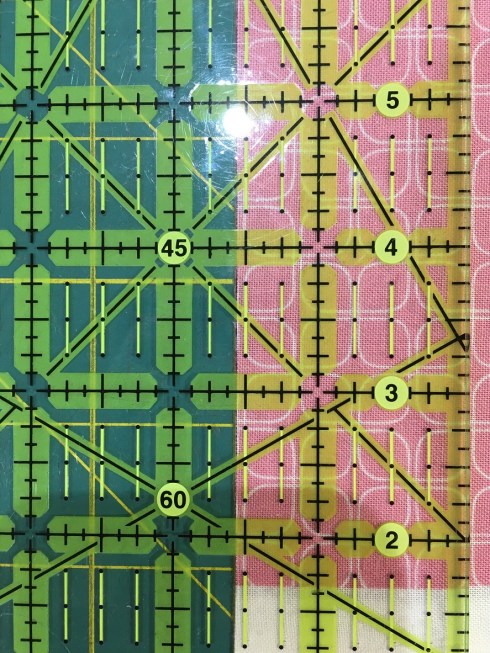
Cut scant 1 5/8″ strips by cutting half-way between 1 1/2″ and 1 5/8″
Today’s 2nd tip: I find it easier to line up the lines of my ruler with the lines on my cutting mat, not the edge of my strip. It is easier to see if the 1⅝” and 1½” hash marks are equidistant from the vertical line on my mat where my fabric is aligned.

I find I get more accurate cuts when I align the ruler with the mat, not the edge of the strip.
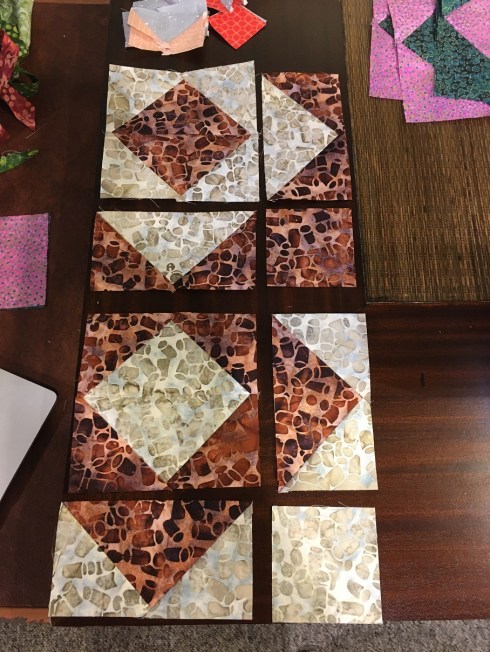
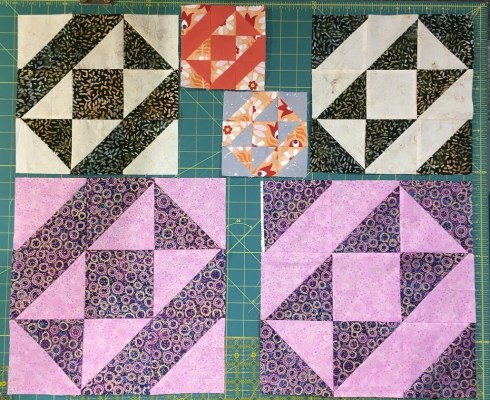
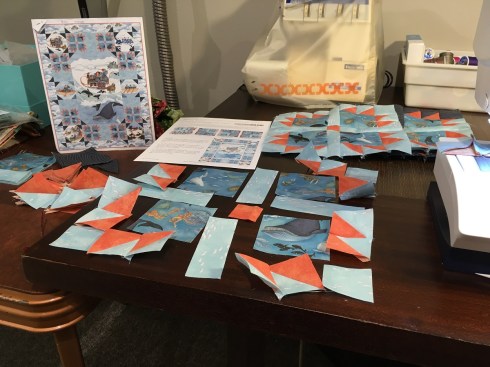
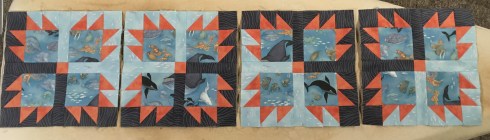
Here are my finished blocks, hot off the press.
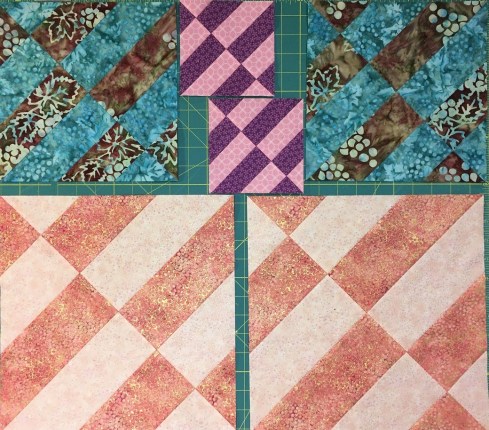
Block 4 done!
Alright then, let’s get those blocks done. Whichever method you choose, enjoy your sewing time. If you try my method I welcome your feedback. Feel free to leave a comment below.
My instructions for Block 4 can be found here.
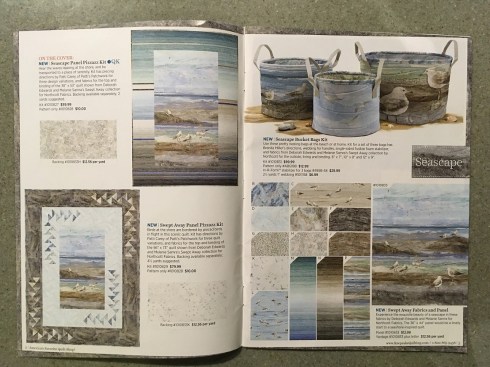
On the Banyan Facebook page today the blocks are made with my friend Daphne’s Tapa Cloth fabric collection. Daphne has done up some quilt design options using the block with and without sashing, and also as a border around one of her fabulous Tapa Cloth panels – check out her blog post.
See you tomorrow!
Cheers,
Patti


 featured in the May/June issue of McCall’s Quilting, on newsstands March 27. Let me give you a bit of background on this mini tool with mighty benefits. On the way home from a Borders & Binding workshop I taught to the Sarnia guild last April I was pondering how I could make mitered borders easier to mark – the students really got the concept of pre-cutting the mitered angles prior to sewing them on the quilt. They struggled, however, with marking the spots to start and stop sewing them. I came up with the idea of a small angled template with precisely drilled holes, and that is how the E-Z Miter tool came to be. It includes detailed instructions on fool-proof mitered borders as well as instructions on using the tool for lone star/Lemoyne star blocks/quilts as well. Simply place the tool in the inner angled corner of your mitered border to mark the exact spot to start and stop sewing. Use the square corner to mark the quilt or block, then connect the two dots for perfect foolproof mitered corners. Easy peasy! I even have a how-to YouTube video
 The
The